The ability to send notifications is an important feature missing from Salesforce—until now! As part of the Summer ‘19 release, Salesforce added this new feature to the Process Builder. This functionality can be used on any object based on the criteria you set up in Process Builder and is available for both the Desktop and Mobile applications.
Beyond Chatter, push notifications are a great way to provide real-time information to Sales and Service reps about the status of their opportunities (closed-won anyone?) or on cases that need immediate attention. Keep reading for a walkthrough on how to set it up!
This step creates a notification for either the mobile or desktop app.
1. Go to Setup → Notification Builder → Notification Type

2. Click New and then give the Notification Type a name. This is important if you decide to have more than one Type available.
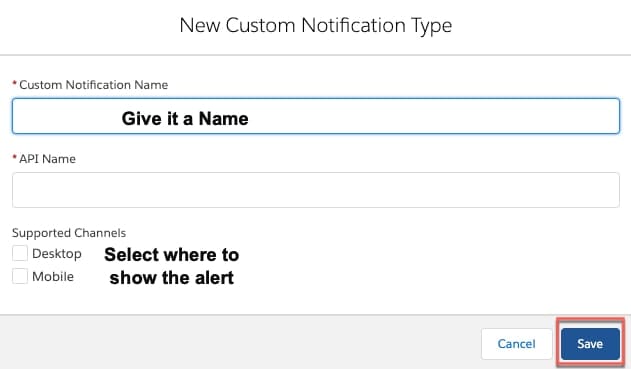
3. Select the Type
Bear in mind that some restrictions apply to mobile notifications. This includes (but is not limited to):
In some cases, if the user is both the person causing the notification to go out and the receiver of the notification, and Mobile and Desktop are selected, the user will only see the notification on the Mobile device when entering the app itself, assuming they have not already clicked on it in the Desktop app.
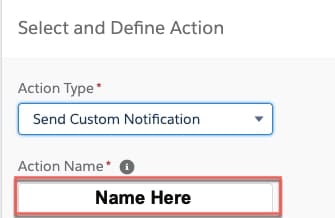
This is the step to trigger the notification to go out.

5. Give the Action a name
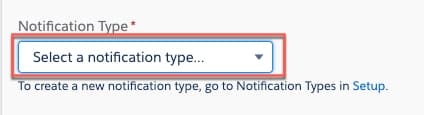
6. Select the Notification Type that you made in Step 1
7. Select the Recipient Type: this can be the User or someone on the record – up to you!
8. Lastly, and probably most importantly, fill out the Title and the Body of the notification
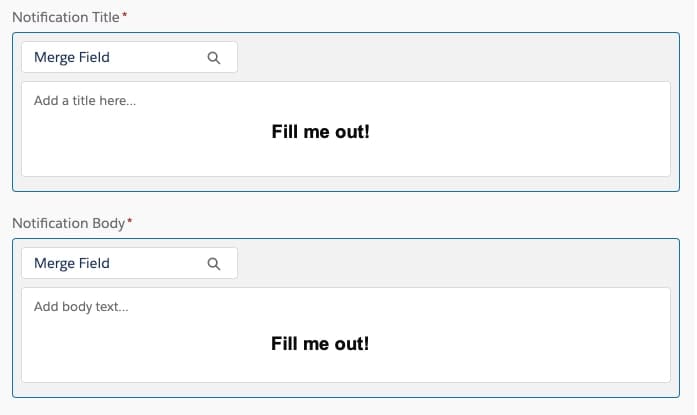
9. Click Save, and then click Activate for the Process Builder
Now, let’s test this lovely new feature!
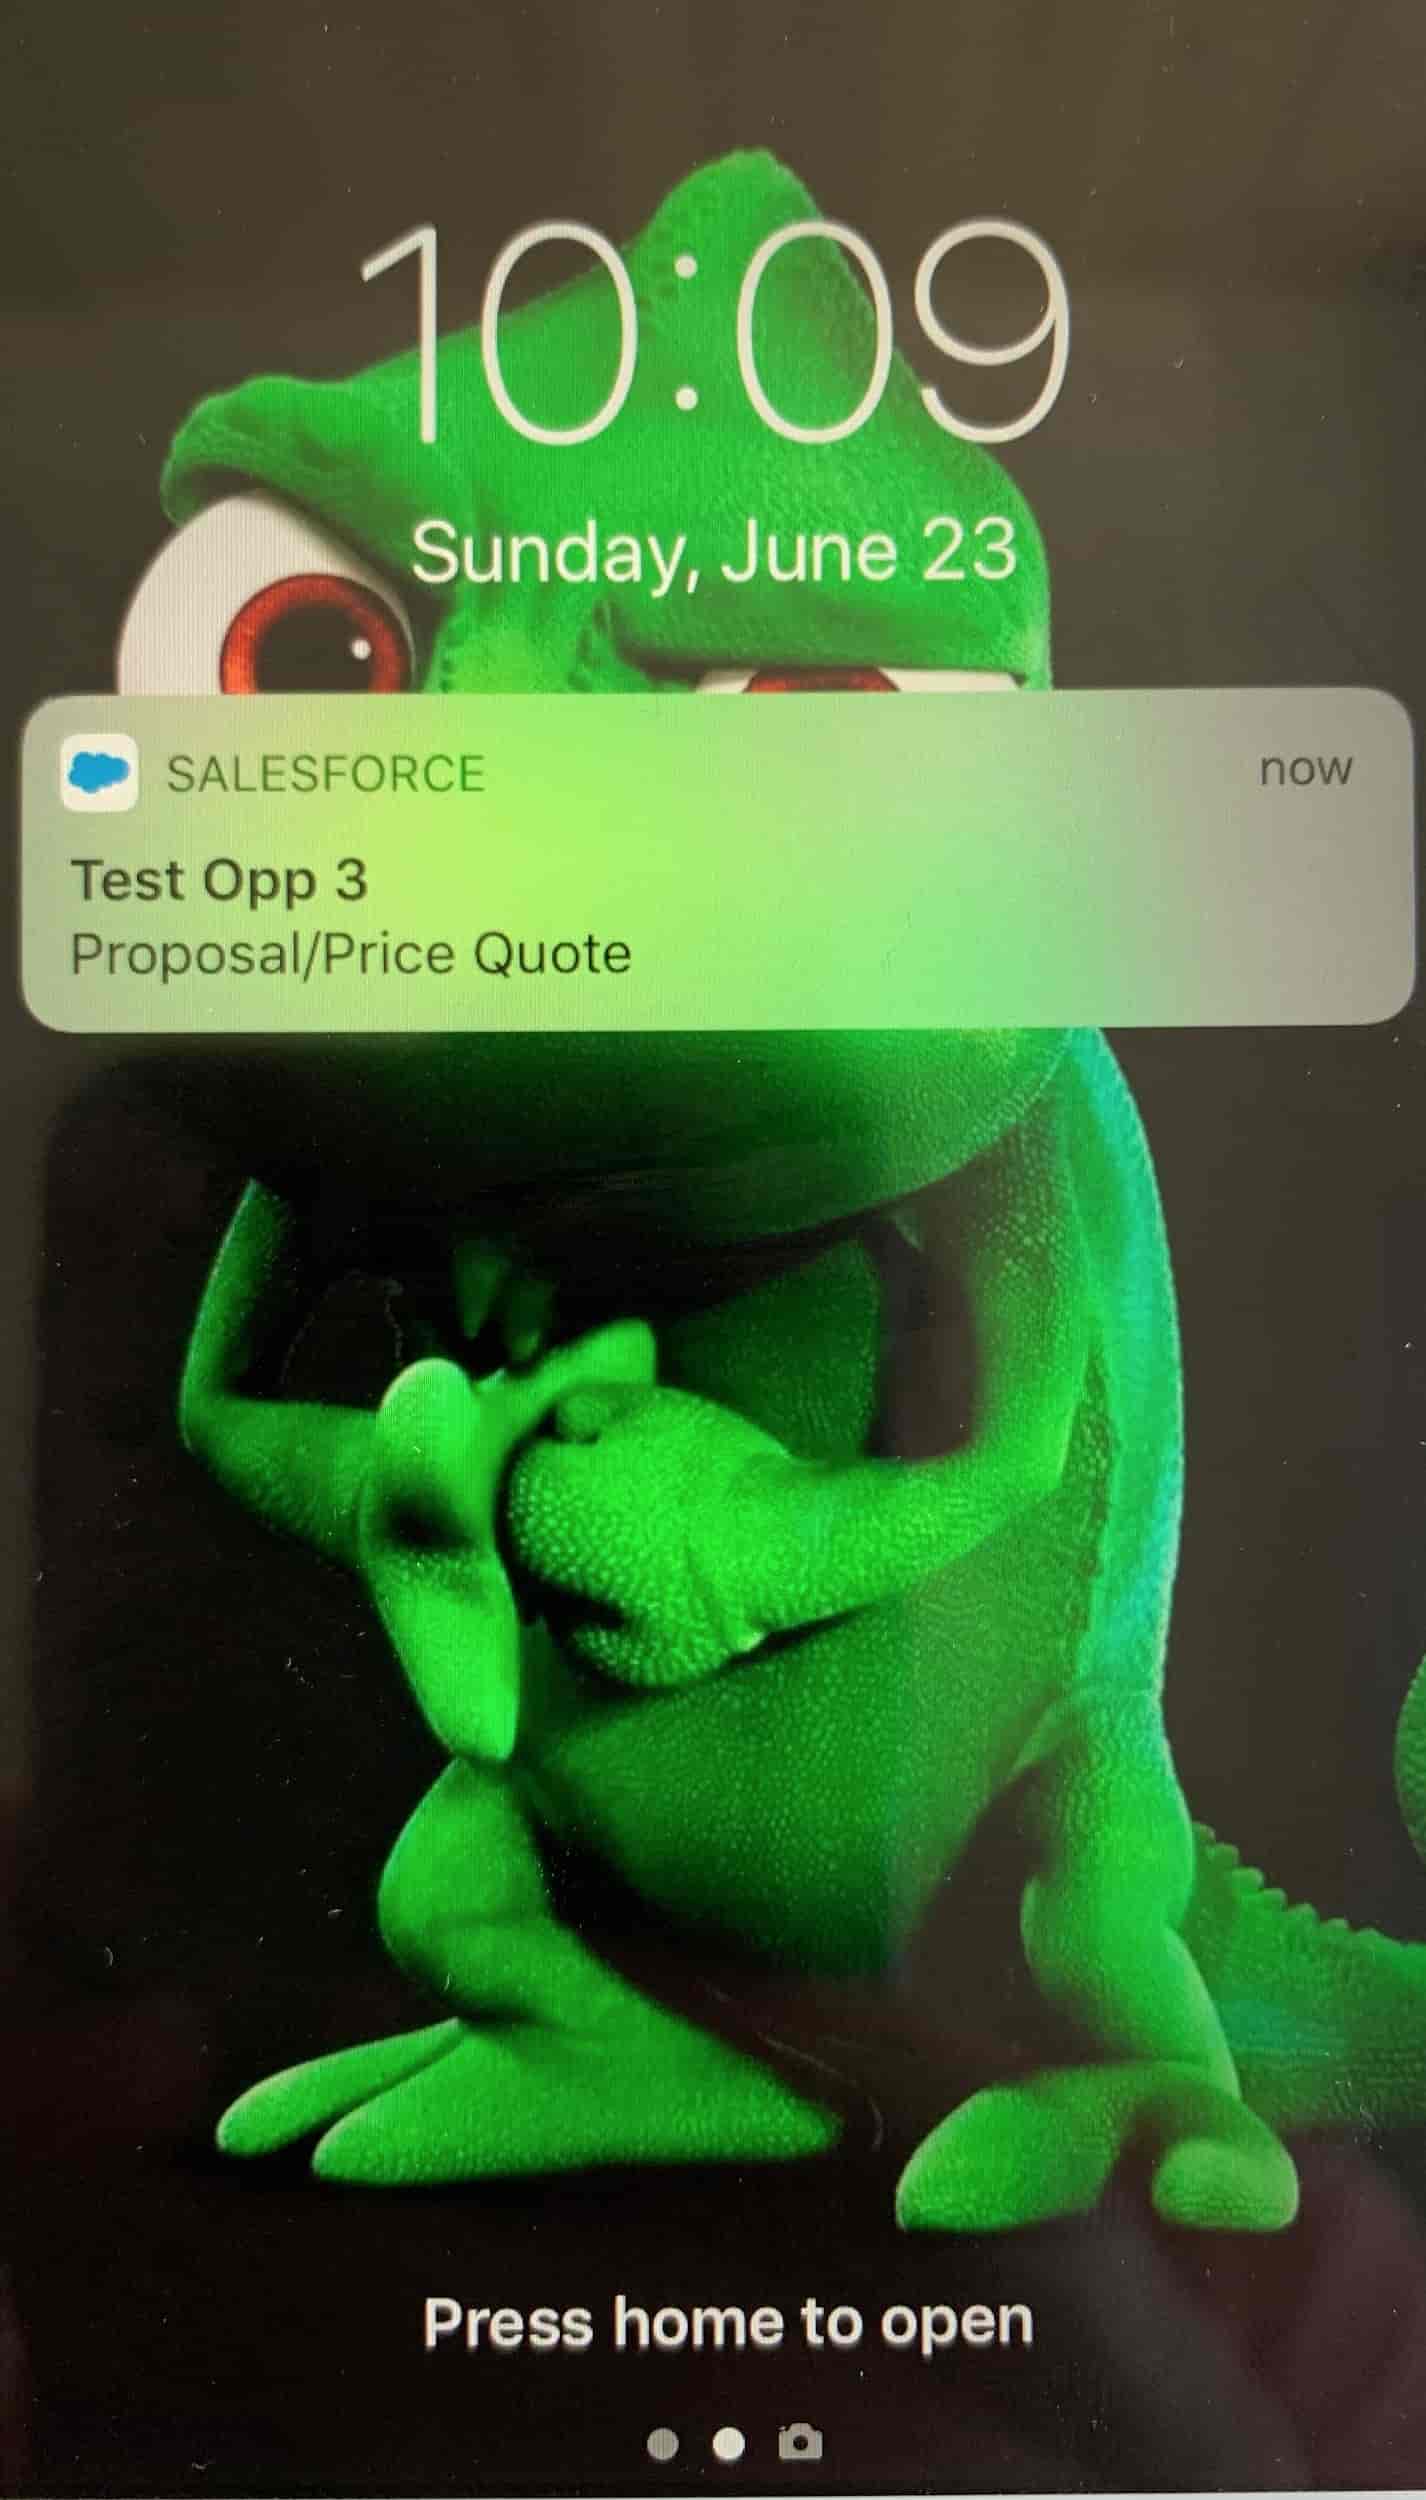
Go to the object you chose in Process Builder and do the action(s) that would cause it to fire. If you set your Notification Type to Mobile or Desktop, you will look for the notification.
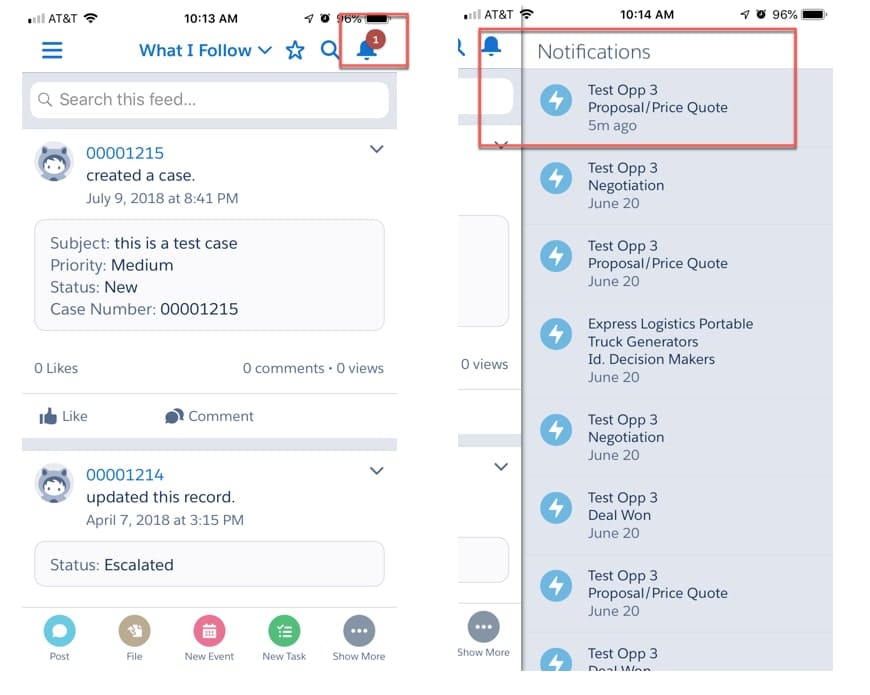
In either application, a (1) will appear in the corner of the little bell icon. If you are on a mobile device and have badges/banners on for the Salesforce app, you may also see that appear.
And there you have it—your user notification alert is all set up! Enjoy this wonderfully simple but powerful new tool.
This post first appeared on SalesforceBen.