Connecting Calendly and Salesforce can streamline your scheduling and data management. Salesforce is a robust CRM, but maintaining accurate, up-to-date information can be challenging. Integrating Calendly reduces manual data entry, allowing sales teams to focus on building relationships.
This guide will show you how to connect Calendly and Salesforce, ensuring a seamless integration that enhances data accuracy and efficiency. Follow these steps immediately to benefit from improved workflow and better customer management.
Table of Contents
ToggleWhy Connect Calendly and Salesforce?
There are several advantages to connecting Calendly and Salesforce that guarantee data quality, increase productivity, and boost client engagement. Businesses may easily sync meetings and events with Salesforce data by linking these two services.
By doing away with the necessity for manual data entry, this real-time integration lowers the possibility of human mistakes and saves significant time. It also makes better schedule visibility amongst team members possible, which is crucial for coordinating activities and preventing scheduling conflicts.
What is Calendly?
Calendly is an automated scheduling software that allows businesses to schedule meetings and appointments without the constant back-and-forth communication. With its easy-to-use interface, you can establish your availability and let customers and prospects book a time that works best for them. The booked time is promptly added to your calendar.
What is Salesforce?
Salesforce is a leading CRM platform that helps organizations manage customer relationships by providing a centralized environment for storing and analyzing customer data. The platform is highly customizable and is a favorite among sales professionals, as it allows them to manage leads, track sales, and automate various business processes.
Why Integrate Calendly with Salesforce?

Integrating Calendly with Salesforce makes sharing information about meetings, leads, and customer interactions easy for these platforms. This connection helps your team avoid manual data entry, track all appointments in Salesforce, and provide insights to improve sales strategies.
Preparing for the Integration Process
Before proceeding with the integration of Calendly and Salesforce, it’s important to ensure you have the necessary permissions and prerequisites. This preparation step is crucial for a smooth and successful integration process.
Requirements for Integrating Calendly and Salesforce
You will need an active subscription to both Calendly and Salesforce. Additionally, have your Salesforce API credentials ready, and ensure that you have the necessary permissions within Salesforce to create and associate records with the correct objects, such as Leads and Contacts.
Setting Up Your Calendly Account

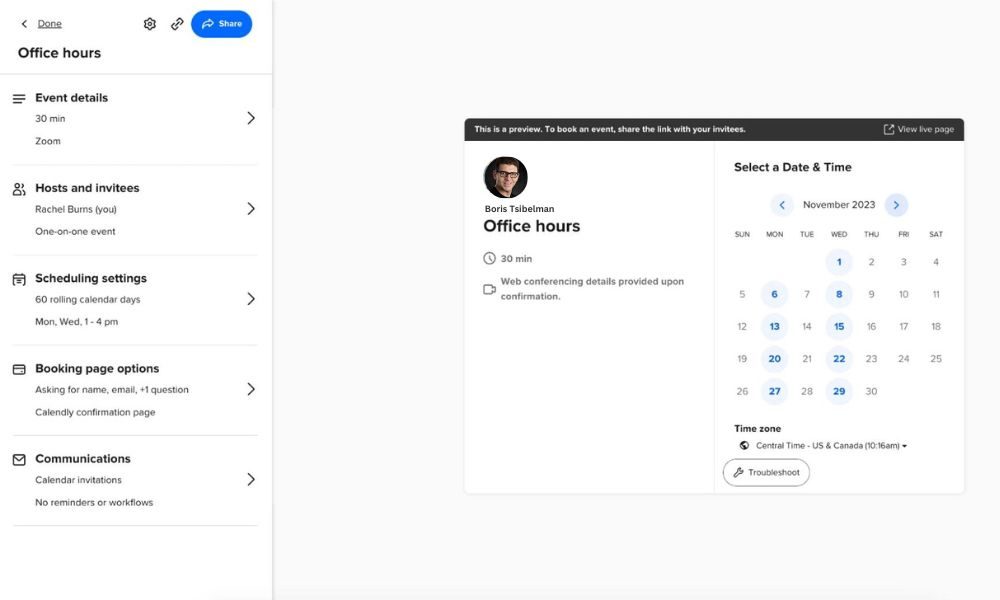
If you haven’t already, create a Calendly account or update your existing account to include the latest features and enhancements. Calendly offers a range of capabilities to streamline your scheduling process, but customizing your Calendly event types and notification settings is essential to capitalize on its potential.
This customization allows you to align your scheduling preferences seamlessly with your integration goals in Salesforce, ensuring a smoother, more efficient workflow that leverages the best of both platforms. Attention to these details can significantly enhance your productivity and overall scheduling experience.
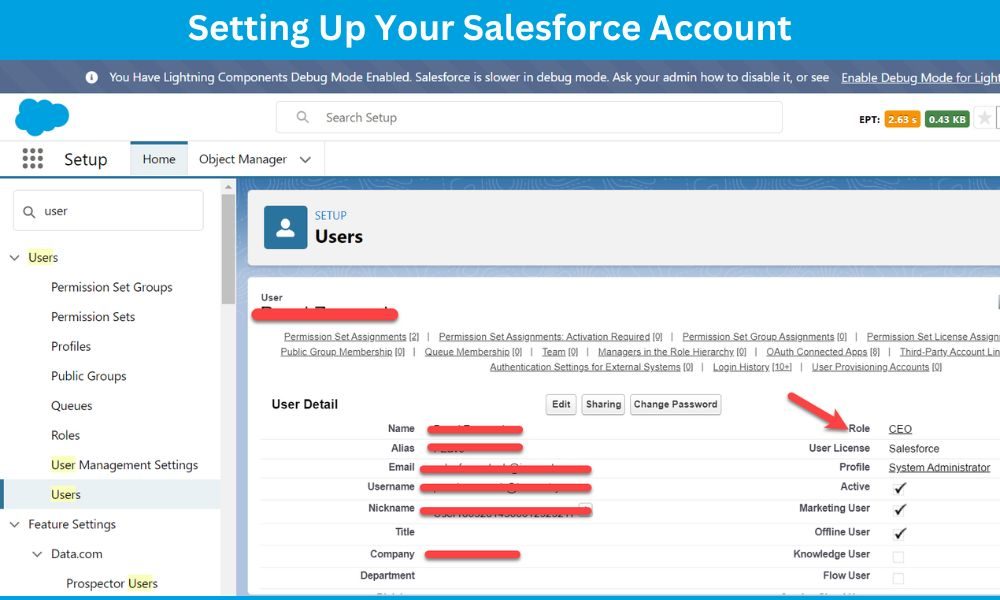
Setting Up Your Salesforce Account

Make sure your Salesforce account is configured to receive data from Calendly. This may include creating custom fields within Salesforce to accommodate data imported from Calendly and setting up rules for managing this data within Salesforce.
Step-by-Step Guide to Connect Calendly with Salesforce
Now that you’ve finished all the necessary preparations, the next step is to integrate Calendly into your Salesforce system. This connection will streamline your scheduling processes and improve overall efficiency.
Choosing the Right Integration Tool
There are several ways to integrate Calendly with Salesforce, from using built-in features of Calendly or Salesforce to utilizing third-party integration tools. Research and choose the method that best suits your technical expertise and the scope of your integration requirements.
Step 1: Accessing and Setting Up the Calendly Webhooks
Calendly uses webhooks to send notifications to the desired endpoint in real time when a scheduling event occurs. To enable webhooks, you must access your Calendly account settings, create a new webhook, and select the events for which you want to trigger the webhook (e.g. When you schedule or cancel a new event).
Step 2: Configuring the Salesforce Side
In Salesforce, you must create a new Apex class to handle Calendly’s incoming webhook requests. This involves setting up authentication, parsing the incoming data, and associating it with the relevant Salesforce records.
Step 3: Testing the Connection
After setting up the integration, test it several times to ensure Calendly data correctly enters Salesforce and processes according to your business rules. This is a crucial step to confirm that your integration is working as expected before relying on it for live data.
Optimizing the Calendly and Salesforce Connection
With the complete technical integration, you can optimize the connection to meet your business needs.
Customizing the Integration for Business Needs
Consider customizing the Calendly and Salesforce integration to trigger different actions based on the type of event. For example, you might want to automatically move a prospect to the next sales stage in Salesforce when they schedule a demo via Calendly or send targeted follow-up emails after a meeting.
Ensuring Data Integrity and Security
Review the data transferred between Calendly and Salesforce regularly to ensure no duplicates or discrepancies. Implement best practices for handling customer information to maintain the highest level of data security.
Providing Training and Support
Equipping your team to handle the new Calendly and Salesforce integration is key to leveraging its full potential. Offer comprehensive training sessions that cover how to use the integration efficiently for everyday tasks. Include practical exercises that simulate real-world scenarios your team may encounter.
Team members should easily reach out for help or clarification on the integration’s features through an established support system. This creates a conducive environment for learning and encourages the adoption of the new system, ultimately streamlining your scheduling and customer management processes.