When used together, Calendly and Google Calendar become a powerful combination to streamline your day-to-day activities. This duo prevents double-booking and keeps your time organized and scheduled.
Calendly is a popular as well as smart scheduling tool that lets others book meetings based on your availability. There is no need for email ping-pong anymore; you share the link, and Calendly takes care of the rest. As a widely used time management tool, Google Calendar helps you organize and manage your events, meetings, and tasks in one place.
By linking Calendly with Google Calendar, you can eliminate manual scheduling, avoid conflicts, and keep everything in sync automatically.
Table of Contents
ToggleWhat is Calendly?

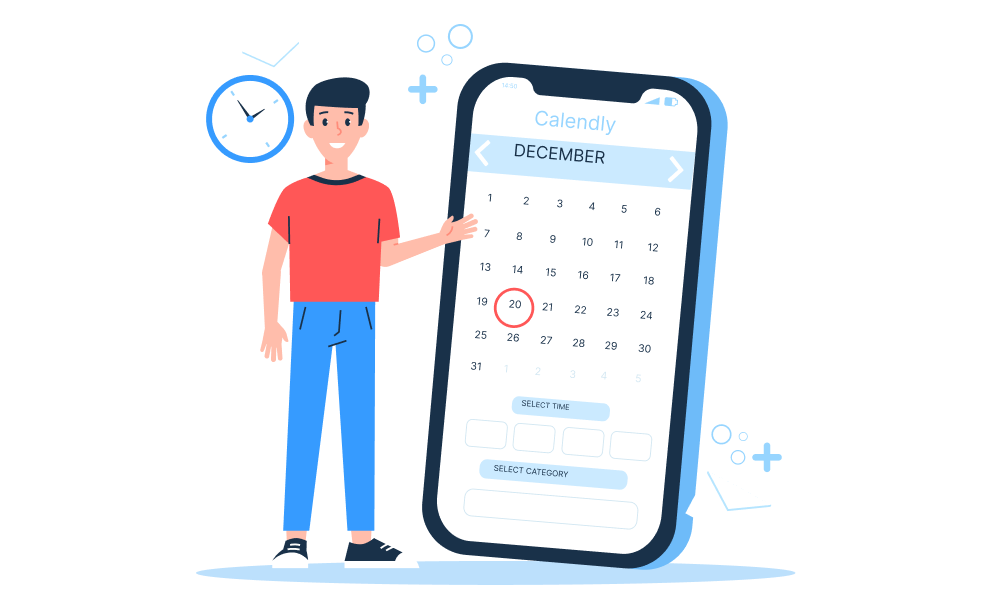
Calendly is a cloud-based software. It makes the process of booking meetings simple. Instead of exchanging emails to find a suitable time, Calendly provides you the opportunity to set availability, share your scheduling page, and let invitees book a time slot that works for you. That means you can have them book time on your calendar without manual interference.
Key Features of Calendly
Customizable Meeting Types: The beauty of Calendly lies in its customizable meeting types, which can include different event types, durations, locations, and participants, all set within your parameters.
Automated Notifications: With built-in notifications, you’ll know when someone schedules a meeting, reschedules or cancels it, and when the meeting is about to start.
Buffer Time: Avoid back-to-back meetings by setting buffer times between appointments, you will have enough time to prepare or take breaks.
Time Zone Detection: Calendly can easily detect different Time Zones. It automatically adjusts for different time zones. So you won’t be confused about global timing.
Sync Multiple Calendars: Calendly integrates with multiple Google Calendars. So, you are able to manage availability across personal, work, or shared calendars effortlessly.
Follow-up Actions: Stay on top of meetings with built-in tools by tracking, rescheduling, and following up with invitees directly within the Calendly dashboard.
Why Connect Calendly with Google Calendar?
Integrating Calendly with Google Calendar saves time, prevents conflicts, and keeps your schedule updated automatically. What are the other benefits?
No More Double-Booking: Calendly checks your availability and blocks off times that have already been taken. So, you needn’t be tense about double bookings anymore.
Instant Updates: Google Calendar instantly updates any changes, like event modifications or deletions. Any meeting scheduled, rescheduled, or canceled syncs immediately.
Automated Reminders: Both tools send email notifications to ensure that you haven’t forgotten any meetings.
Flexible Scheduling: You can take full control of your calendar by customizing meeting types, setting buffer times, and defining blackout dates. This way, you can structure your availability just the way you need it.
Sync on All Devices: Access your schedule from any phone, tablet, or computer. Stay updated with your appointments, and accessible anytime, anywhere.
Highlight Calendly Events: Keep your scheduled meetings easy to spot by enabling the Calendly extension. Your booked events will appear in Calendly blue with an icon in your Google Calendar. Make it simple to distinguish them from other appointments.
Calendly Google Contacts Integration: Sync contacts for an even smoother scheduling experience.

What is Google Calendar?
Google Calendar is a time-management and scheduling calendar service developed by Google. It provides users with a scalable way to organize events, meetings, reminders, and appointments across devices.
Key Features of Google Calendar
Never miss an important event with Google Calendar. Learn how:
Color-coded Events: You can easily organize different types of meetings with customizable color coding, which makes it easier to differentiate between work, personal, and shared events.
Multiple Calendar Views: Get a clear picture of your schedule with flexible views in daily, weekly, or monthly formats.
Google Services Integration: Sync Gmail, Google Meet, and other Google services to Google Calendar so that meetings and reminders are automatically added to your calendar.
Smart Scheduling Assistant: Find the best meeting times across multiple shared calendars without hassle to eliminate conflicts.
Cross-Device Access: Stay connected and manage your schedule from any device, computer, tablet, or smartphone.
How to Connect Calendly with Google Calendar?
Setting up Calendly and Google Calendar is quick and easy. Follow these steps:
1. Create a Calendly Account
If you don’t have an account, visit Calendly’s website and sign up for a free or paid plan.
2. Link Google Calendar to Calendly
- Log in to your Calendly account.
- Click on your profile icon and go to “Account Settings.”
- Select “Calendar Connections.”
- Click “Connect” next to Google Calendar.
- Sign in to your Google account and grant Calendly permissions.
- Your Google Calendar is now connected!
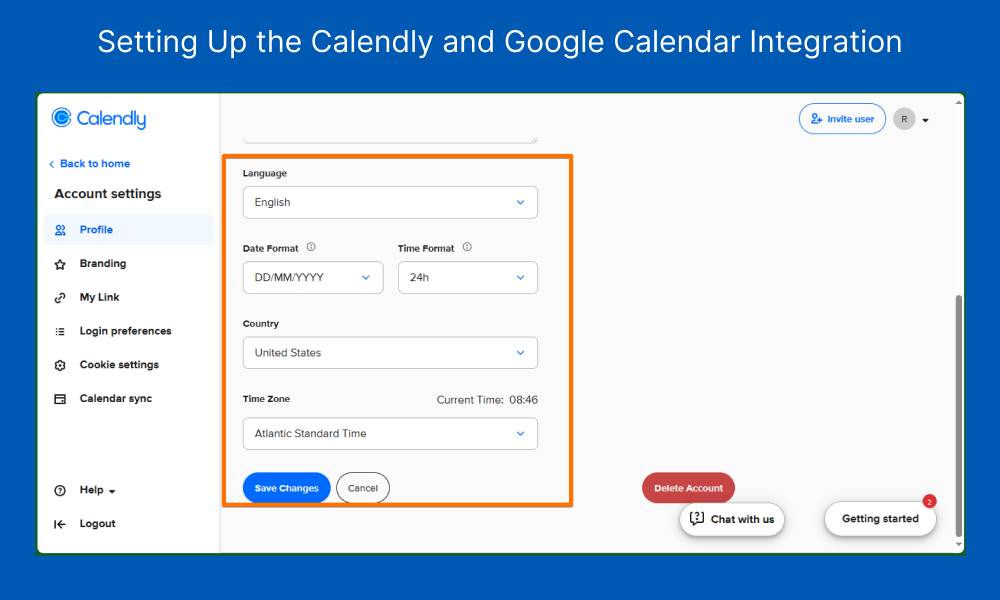
After completing these steps, your Google account will be successfully connected to Calendly, allowing the two platforms to communicate and sync your schedule seamlessly.
3. Adjust Your Calendly Settings
- Choose which Google Calendars to sync.
- Set buffer times between meetings.
- Define your working hours and blackout dates.
4. Share Your Calendly Link
Now, you can start sharing your Calendly scheduling page via email, website, or Gmail integration to let others book meetings easily.

Troubleshooting Tips
If your Calendly-Google Calendar sync isn’t working, try these fixes:
Check Permissions: Ensure Calendly can access your Google Calendar.
Set the Right Calendar: Confirm that the correct Google Calendar is selected in calendar settings.
Clear Cache & Reconnect: Log out, clear your browser’s cache, and reconnect your accounts.
Disable Automatic Video Calls: Google may automatically add video call links to events. You can disable this in Google’s Event Settings.
Contact Support: If issues persist, reach out to Calendly’s support team.
Final Thoughts
At Axis Consulting, we know that time is valuable. By integrating Calendly with Google Calendar, you eliminate scheduling headaches, avoid conflicts, and improve time management effortlessly.
Try it today and make scheduling smoother than ever!
FAQs
Can I connect multiple Google Calendars to Calendly?
Yes, Calendly allows syncing multiple Google Calendars and choosing one as the main scheduling calendar.
What happens if I delete a meeting in Google Calendar?
If the event was booked through Calendly, it will still appear in Calendly’s records unless manually deleted.
Is the Calendly-Google Calendar integration free?
Yes, Calendly offers a free plan with basic features, while premium plans provide more customization and integrations.
How can I prevent last-minute bookings?
Set a minimum scheduling notice in Calendly to avoid last-minute appointments.
Can Calendly schedule team meetings?
Yes! Calendly supports team scheduling, including round-robin and collective meetings, all synced with Google Calendar.